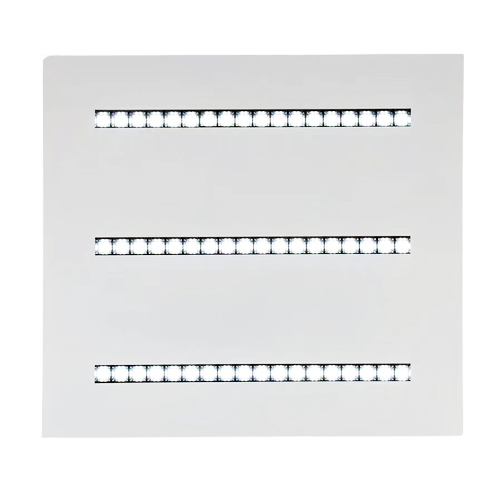
How to Install LED Panel Lights in the Ceiling?
Introduction: Switching to LED panel lights can transform your space and significantly reduce energy consumption. Installing these lights in the ceiling provides a sleek and seamless lighting solution. This comprehensive guide will take you through a step-by-step process of installing LED panel lights in your ceiling, ensuring a visually appealing and efficient lighting setup.
Step 1: Gather the Required Tools and Materials Before starting the installation process, ensure you have the following tools and materials ready:
LED panel lights
Ceiling frame/grid
Mounting brackets
Screwdriver/drill
Screws
Measuring tape
Wire cutters/strippers
Electrical connectors
Insulation tape
Step 2: Determine the Layout and Placement Measure the ceiling area to determine the ideal layout and positioning for your LED panel lights. Consider factors such as room dimensions, existing wiring, and the desired lighting effect. Plan the arrangement to evenly distribute the lights while accounting for any obstructions or support beams.
Step 3: Prepare the Ceiling Ensure that the ceiling is ready for installation by removing any existing fixtures or fittings. Clean the installation area and make any necessary repairs to the ceiling surface. This step provides a smooth and even surface for securing the LED panel lights.
Step 4: Mount the Ceiling Frame/Grid Attach the ceiling frame or grid to the ceiling using the appropriate screws and brackets. Ensure that the frame is aligned correctly and securely fastened. This step creates the foundation for mounting the LED panel lights.
Step 5: Install the LED Panel Lights Carefully remove the cover of each LED panel light and gently connect the power cables to the corresponding wires in the ceiling grid. Secure the panels onto the grid using the provided mounting brackets. Check that all connections are properly insulated and secure to avoid any electrical hazards.
Step 6: Test the Lighting System After installing all the LED panel lights, turn on the power supply to test the lighting system. Verify that all the lights are functioning correctly and providing the desired level of illumination. Adjust the lights as needed to achieve the desired distribution and brightness.
Step 7: Finalize the Installation Once satisfied with the lighting setup, restore power to the ceiling lights, ensuring all connections are properly tightened. Replace the cover on each LED panel light. Clean the lights and surrounding area as necessary, removing any debris from the installation process.
Conclusion: The process of installing LED panel lights in your ceiling can be straightforward and rewarding. By following this comprehensive guide, you can enhance your space with energy-efficient lighting while creating a visually appealing environment. Remember to prioritize safety during the installation process, ensuring all electrical connections are secure and properly insulated. Enjoy the benefits of a well-lit space with LED panel lights!
https://www.ahcxlight.com/offi....ce-lighting-high-bri
Like


Comment
Share